
User Management
People
- Open User Management from the Dashboard
- Click Add People
- Fill in the form with the new user's details
- Choose the Role for them.
- Press Save
- At the end of the row, after the user’s name, there are three dots, click on these.
- Press Generate Code
- Press Confirm on the red pop up at the bottom of the page
- Click on the three dots again
- Press Toggle Code
- Give the code to the user you are creating the account for
or alternatively click the email invite code button to email it out to them.
They will then need to go to the website and press register at the sign in page, it will ask them for this code.
MIS Sync
Users can also be added to the system by syncronising with your in school MIS. If this is something you would like to get set up, please get in touch with our sales team on 0113 3200 750.
Here is a quick guide to order to update your users:
- Go to User Management
- Click on the MIS Sync button
- Click the button with three dots next to each item then select Download from the drop down menu
- Do this for each item
- Wait for this to complete - it will say done when finished
- Click the button with three dots next to each item then select Sync from the drop down menu
- Whilst syncronising new groups/users etc, you'll see a list of the new users or groups to sync
- Check that you wish to sync the relevaent groups or users then scroll to the bottom of the list and click save.
- Make sure to run through and do this for each item in the list.
- Once done, click the People button on the left. You can now generate the invite codes for the new users.
People
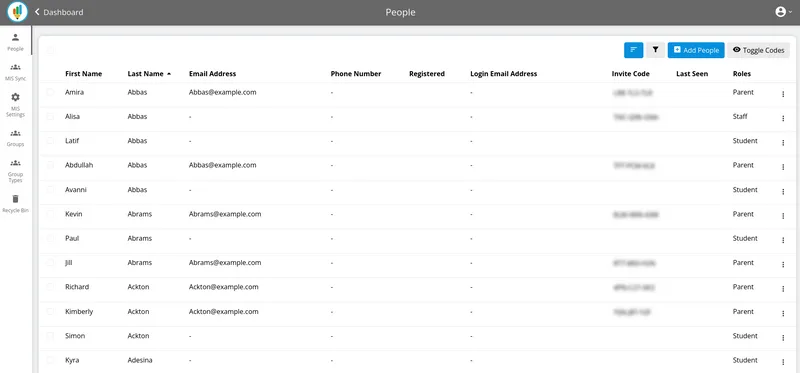
The People screen shows all users on the system.
From here you can click the button with three dots next to a user to see the following options:
- Preview
- Edit
- Delete
- Generate code
- Send invite code by email
- Toggle code
Groups
This page lists all of the groups that have been created in School Jotter 3. If you are using our MIS sync tool, these groups are pulled in from your MIS and the relevant students and teachers assigned to them. If you are not using the MIS integration then you can click the Add group button to add groups manually.
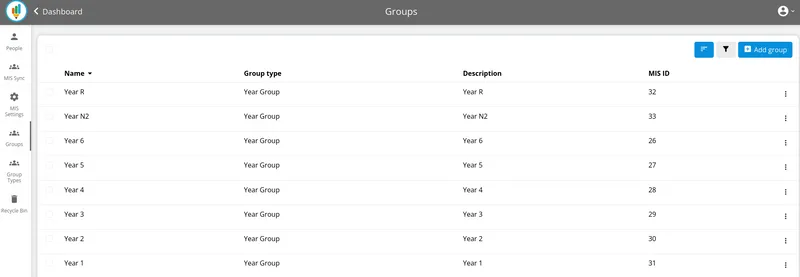
In order to view which users are assigned to a particular group you can click the button with three dots next to it then click View Members:

Group types
If you use our MIS integration, this will list the group types that are pulled thorugh in to School Jotter 3.
Recycle Bin
If you delete users on the system then they will end up in the recycle bin. From here you can restore users or you can permanently delete them. This is useful for students, parents, teachers etc that have since left the school.
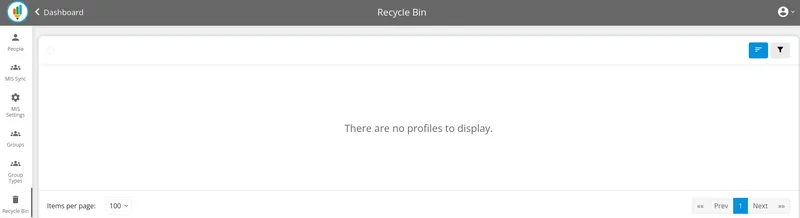
You can select which users you wish to delete or restore by clicking the tick box next to them.